
Date: 2025-07-10
This comprehensive article provides a step-by-step guide to 4-layer flexible printed circuit (FPC) prototyping. From understanding design considerations to detailed guidance on material selection, printing processes, and final inspection, this guide covers the essential aspects of 4-layer FPC development, providing an understanding of best practices, common mistakes to avoid, and the importance of testing and validation. opinion.
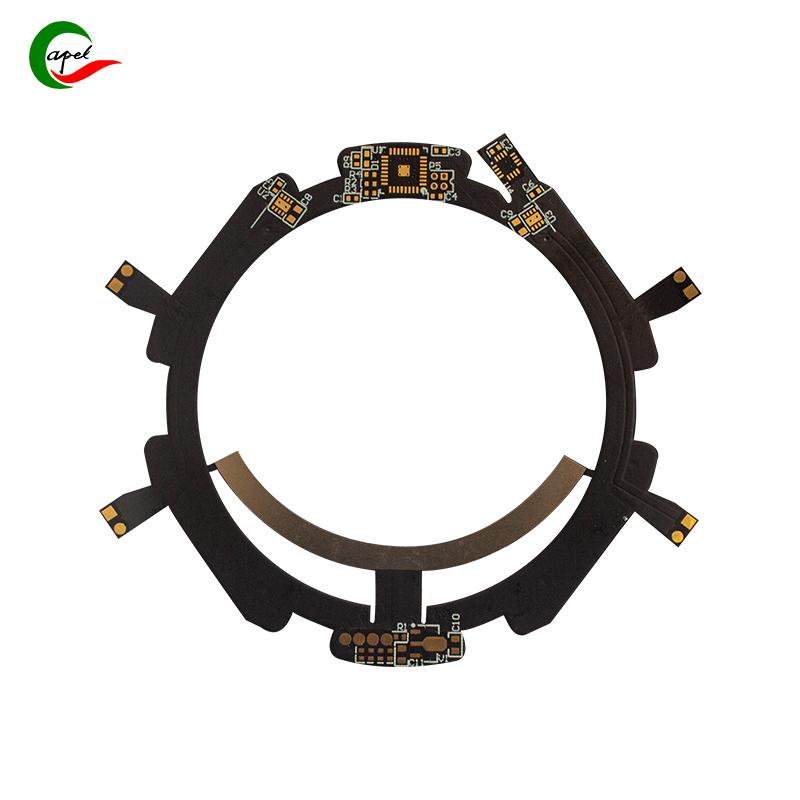
Flexible printed circuits (FPCs) are a versatile and powerful electronic interconnect solution. FPC prototyping plays a vital role in the development of 4-layer FPCs, which are in high demand due to their compact size and high density of features. This article provides a comprehensive step-by-step guide to 4-layer FPC prototyping, emphasizing the importance of each stage in the process.

FPC, also known as flexible printed circuits or flexible electronics, is a technology for assembling electronic circuits by mounting electronic devices on flexible plastic substrates. In terms of 4-layer FPC, it refers to a design with four layers of conductive traces and insulating material. 4-layer FPCs are complex and require a deep understanding of design considerations such as signal integrity, impedance control, and manufacturing constraints.
The first step involves using software tools to create the circuit layout for precise placement of components and routing of traces. At this stage, detailed attention to electrical performance and mechanical constraints is critical to ensure a robust design.
Selecting the right material is critical to achieving the required electrical and mechanical properties. Factors such as flexibility, thermal stability, and dielectric constant must be carefully evaluated to meet the specific requirements of the application.
The inner layer uses advanced manufacturing technology to print circuit patterns. These layers typically consist of copper traces and insulating materials, and the accuracy of this process is critical to the overall performance of the FPC.
After printing the inner layers, they are stacked and laminated together using specialized adhesives and pressing equipment. This stage is critical to ensure the integrity and adhesion of the layers.
Etch to remove excess copper, leaving only the required circuit traces. Precision drilling is then performed to create through-holes and mounting holes. Excellent accuracy is critical to maintaining signal integrity and mechanical stability.
Use a surface treatment process such as immersion gold or organic coating to protect the exposed copper and ensure reliable electrical performance. These finishes resist environmental factors and facilitate welding during assembly.
Conduct a comprehensive inspection and testing program to verify the functionality, quality and compliance of the 4-layer FPC. This rigorous phase involves electrical testing, visual inspection and mechanical stress testing to verify the performance and reliability of the prototype.
Implementing best practices, such as maintaining controlled impedance, minimizing signal crosstalk, and optimizing routing topology, is critical to successful FPC layout design. Collaboration between design, manufacturing and assembly teams is critical to solving potential manufacturability challenges early in the process.
Common mistakes, such as inadequate stackup design, insufficient trace clearance, or neglected material selection, can lead to costly rework and delays in production schedules. Proactively identifying and mitigating these pitfalls is necessary to streamline the prototyping process.
A comprehensive testing and validation program is essential to ensure the performance and reliability of the 4-layer FPC prototype. Adherence to industry standards and customer specifications is critical to instilling confidence in the functionality and durability of the final product.
A. Step-by-Step Guide Review The step-by-step guide for 4-layer FPC prototyping highlights the meticulous attention required at each stage to achieve a successful outcome. From initial design considerations to final inspection and testing, the process requires precision and expertise.
B. Final Thoughts on 4-Layer FPC Prototyping The development of 4-layer FPC is a complex endeavor that requires an in-depth understanding of flexible circuit technology, material science, and manufacturing processes. By following detailed guidelines and leveraging expertise, companies can confidently navigate the complexities of 4-layer FPC prototyping.
C. Importance of Following Detailed Guidelines for Successful Prototyping Adhering to detailed guidelines and industry best practices is critical to achieving excellence in FPC prototyping. Companies that prioritize precision, quality, and innovation in their prototyping processes are better able to deliver cutting-edge 4-layer FPC solutions that meet the needs of modern electronic applications.
![]()
Capel manufacturing PCBs since 2009. Professional technology and high-precision Printed Circuit Boards involved in Medical, IOT, UAV, Aviation, Automotive, Aerospace, Industrial Control, Artificial Intelligence, Consumer Electronics etc..


 English


 Wechat
 +86 13670210335
 +86 13670210335
 E-mail