Date: 2025-10-11
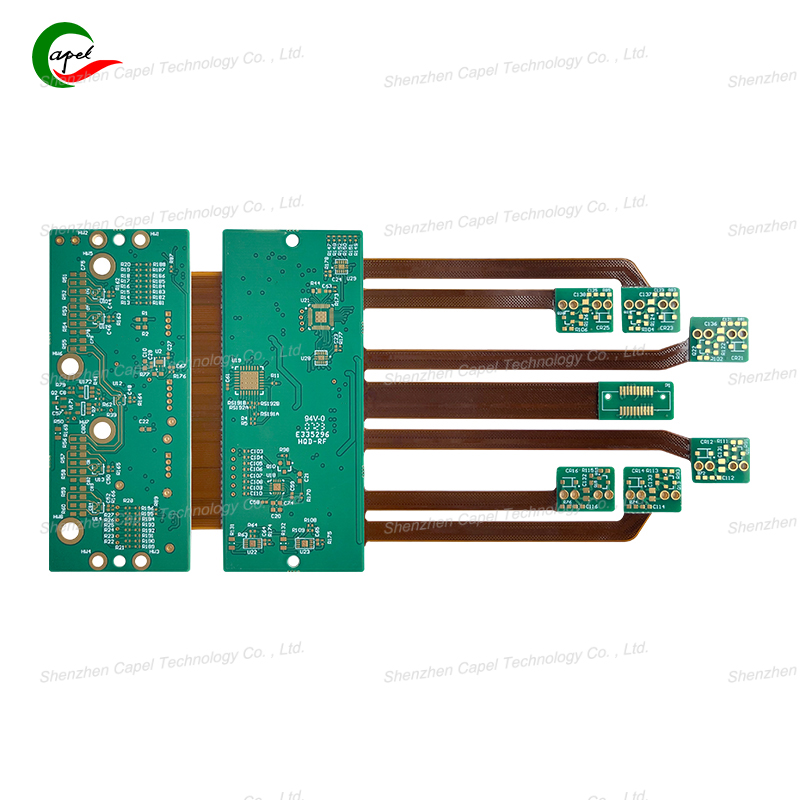
Let's be honest - when a rigid-flex PCB fails in your foldable phone or medical device, your first thought probably isn't "how do I fix this?" It's more likely "is this even fixable?" Having worked on countless rigid-flex repairs, I can tell you that many common issues are repairable if you know what you're doing.
Identifying the Real Problem
Before touching a soldering iron, you need to accurately diagnose the issue. Through years of troubleshooting, I've found most rigid-flex failures fall into three categories:
Trace Damage - The Most Common Issue
I've seen this repeatedly in foldable devices - those microscopic copper traces in the flex areas eventually fatigue and crack. The telltale signs are intermittent operation or specific functions failing when the device is in certain positions. I remember one Galaxy Fold repair where the screen would flicker only when opened past 90 degrees - classic trace damage.
Component Failure - Often Misdiagnosed
Loose or detached components can mimic other problems. Last month, I worked on a medical sensor that kept giving erratic readings - turns out the MEMS sensor had partially lifted due to vibration. The key is careful visual inspection under magnification.
Delamination - The Silent Killer
When the rigid and flex sections start separating, you're in for a challenging repair. I recently had a laptop webcam flex that would work until you moved the screen - the gradual separation was nearly invisible until we applied gentle stress.
Essential Tools for the Job
You can't fix these properly with standard tools. Here's what I actually use in my shop:
Temperature-Controlled Soldering Station: I use a JBC set to 350°C with micro-tips
Quality Solder: 0.3mm lead-free with flux core
Digital Microscope: The Andonstar ADSM series has been invaluable
Professional Multimeter: Fluke for accurate continuity testing
Anti-Static Tweezers: Multiple sizes for different components
High-Purity IPA: 99% isopropyl alcohol for cleaning
Step-by-Step Repair Process
Fixing Broken Traces
This is where most beginners fail. The trick is in the preparation:
Clean the area thoroughly - I use IPA and a soft brush
Apply flux sparingly - too much causes bridging
Use the smallest solder tip possible
Work quickly but carefully at 350°C
I developed a technique where I use copper foil for larger gaps, but that's advanced-level repair.
Component Replacement
The challenge with rigid-flex boards is the mixed materials. The rigid sections can handle normal rework temperatures, but the flex areas require finesse:
Use low-temperature solder for flex areas
Support the board during rework
Work from the edges inward
Dealing with Delamination
This is the toughest repair. If the separation is small:
Clean the gap thoroughly
Apply flexible epoxy specifically designed for electronics
Cure under light pressure
However, if the delamination extends more than 2-3mm, replacement is usually the better option.
Common Pitfalls I've Learned From
Heat Management
Early in my career, I ruined a expensive medical device by using too much heat on a flex section. The polyimide wrinkled and the traces lifted. Now I always test my iron temperature on scrap material first.
Chemical Damage
I once used the wrong cleaner on a flex circuit - it clouded the substrate and weakened the traces. Now I stick to 99% IPA and approved flux removers.
Mechanical Stress
It's easy to cause more damage while repairing. I now use specialized fixtures to support boards during rework.
When to Call It Quits
Some damage isn't worth fixing:
Multiple trace breaks in flex areas
Severe delamination
Water damage with corrosion
Burned substrates
I recently advised a client to replace rather than repair an industrial sensor board with widespread corrosion - the repair would have cost more than replacement with no guarantee of reliability.
Final Thoughts
Rigid-flex PCB repair requires patience and the right approach. Start with simple projects to build your skills. Document your work carefully - I keep detailed notes and photos of every repair. And know your limits - sometimes replacement really is the better option.
The satisfaction of bringing an expensive device back to life is worth the effort, but only if you can do it reliably. Remember: practice makes permanent, so practice perfectly.
related link:
Kaboer manufacturing PCBs since 2009. Professional technology and high-precision Printed Circuit Boards involved in Medical, IOT, UAV, Aviation, Automotive, Aerospace, Industrial Control, Artificial Intelligence, Consumer Electronics etc..