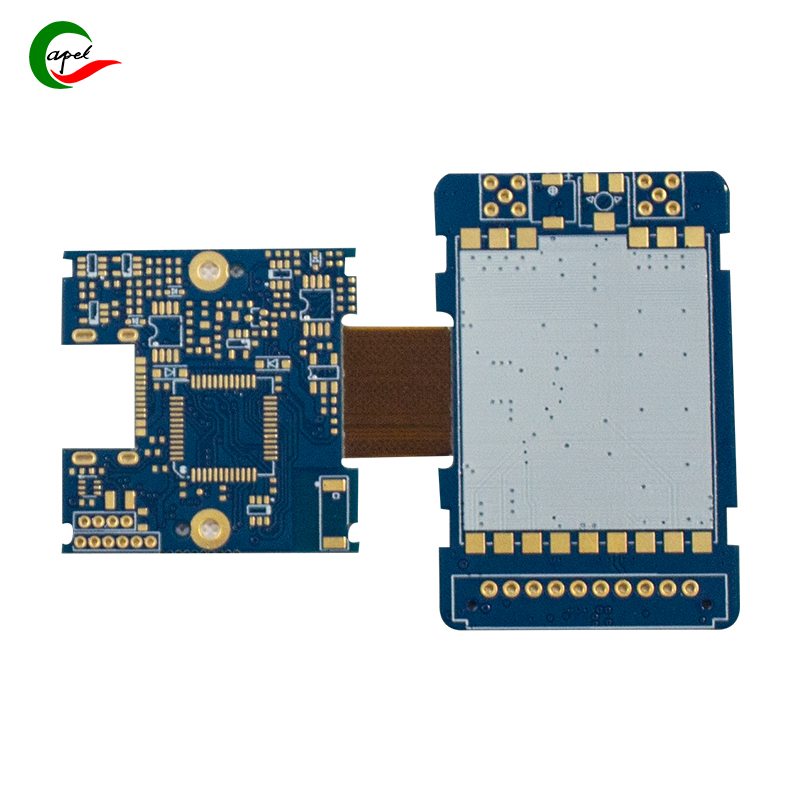
Introduce:
Technological advances in battery charging systems have greatly improved our ability to efficiently power a variety of devices. However, the process of developing these systems requires careful planning, testing, and prototyping. This blog aims to provide you with a comprehensive guide on how to prototype a printed circuit board (PCB) specifically for use in a battery charging system. By combining theoretical knowledge and practical steps, you will be equipped to develop successful prototypes and drive innovation in this exciting field.
1. Understand PCB prototype design of battery charging system:
Before delving into the prototyping process, it’s critical to master the basics of PCB design and battery charging systems. PCBs are the foundation of any electronic device, including battery chargers, because they provide the necessary electrical connections between components. Become familiar with the various types of PCBs such as single-sided, double-sided and multi-layer as the choice depends on the complexity of the system.
2. Battery charging system planning and design:
Effective planning and design are critical to the success of PCB prototyping. Start by defining the goals of the battery charging system and determining the battery types it supports. Consider charging methods (constant voltage, constant current, etc.), charging time, capacity, safety features and other factors. Use simulation software to model and analyze the system’s behavior before entering the physical prototyping phase.
3. Select the correct components:
Component selection can significantly affect PCB performance and reliability. Choose components that are compatible with the voltage and current requirements of your charging system. Consider using a high-quality integrated circuit (IC) designed specifically for battery charging applications. Additionally, choose reliable connectors, resistors, capacitors, and other necessary components to ensure optimal functionality.
4. Schematic design and PCB layout:
Once the component selection is complete, it is time to create the schematic and design the PCB layout. Use software tools such as Altium Designer, Eagle or KiCad to create comprehensive schematics that reflect all connections between components. Ensure proper labeling and clarity for easy understanding.
After the schematic is finalized, lay out the PCB design. Make sure components are placed correctly, taking into account factors such as heat dissipation, trace length, and signal integrity. Pay special attention to the battery connection points to make sure they are tight and capable of handling the required current and voltage levels.
5. Generate Gerber files:
After the PCB design is completed, the Gerber file is generated. These files contain all the information the manufacturer needs to produce the PCB to your specifications. Thoroughly review the design to ensure accuracy and compatibility with manufacturer guidelines.
6. Prototyping and testing:
Once you receive the manufactured PCB, you can assemble and test the prototype. Start by populating the board with selected components, ensuring correct polarity and alignment. Check the soldering carefully and pay close attention to key components such as the power circuit and charging IC.
After assembly, the prototype is tested using appropriate software and test equipment. Monitor the charging process to ensure it adheres to predefined parameters. Evaluate temperature rise, current stability, and overall performance. Make necessary adjustments and iterative improvements if needed.
7. Iterate and refine:
Prototyping is an iterative process. Analyze the test results to identify any shortcomings or areas for improvement and improve your PCB design accordingly. This may involve changing component placement, tracing routing, or even selecting different components. The testing phase is repeated until the desired performance and reliability are achieved.
In conclusion:
Battery charging system PCB prototyping requires careful planning, design, and verification. By understanding PCB fundamentals, strategic component selection, careful schematic design and PCB layout, followed by thorough testing and iteration, you can develop an efficient and reliable battery charging system. Remember, continuous learning and staying on top of the latest technology will help you push the boundaries of innovation in this dynamic field. Happy prototyping!
Post time: Oct-29-2023
Back


