Introduction
Are you a home theater enthusiast looking to enhance your audio-visual experience? One way to achieve this is to prototype your own printed circuit board (PCB) designed specifically for your home theater system. In this blog post, we’ll explore the potential and feasibility of creating a PCB prototype for a home theater system and provide a step-by-step guide on how to embark on this exciting DIY project. Let’s delve into the world of PCB prototyping and uncover the secrets of optimizing your home theater experience.
Part 1: Understanding PCB Prototyping
Before we get into the nuts and bolts of PCB prototyping for a home theater system, let’s first briefly understand what PCB prototyping is.
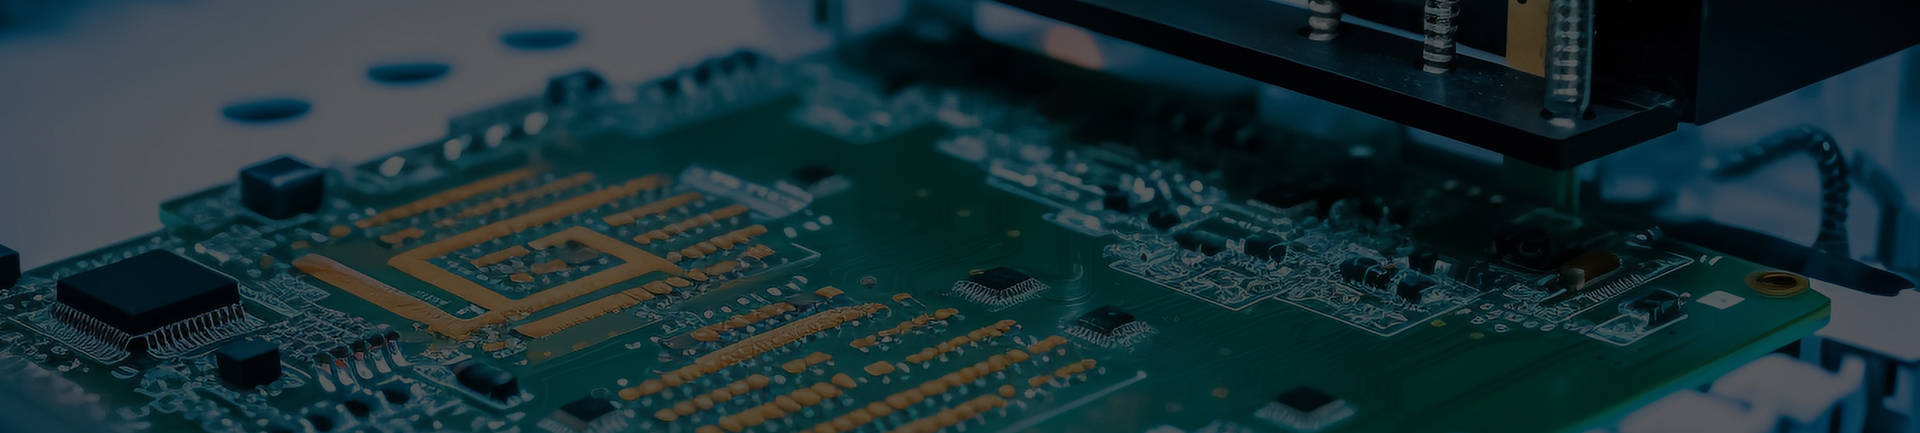
PCB is an important component in electronic devices as it facilitates efficient flow of current between components. Prototyping is the process of creating a prototype or first version of a PCB. However, can this process be done at home, especially with a home theater system?
Part 2: Feasibility of PCB prototyping at home
Creating a PCB prototype for a home theater system at home may seem daunting at first. However, advances in technology and the availability of multi-purpose tools have made it easier than ever. Here are a few reasons why PCB prototyping for a home theater system is feasible:
1. Affordable PCB design software: There are many affordable and even free PCB design software such as EasyEDA or KiCad that can be easily accessed online. These intuitive tools allow users to design complex PCB layouts and even simulate circuit performance.
2. Convenient PCB Manufacturing: Various online platforms offer affordable PCB manufacturing services that provide professional results and quick turnaround time.
3. DIY Assembly: By providing kits and tutorials, PCBs can be assembled at home without advanced technical skills. This DIY approach allows for more customization and personalization.
Part 3: Step-by-Step Guide to PCB Prototyping
Now that we understand the feasibility of prototyping a PCB for a home theater system at home, let’s delve into the step-by-step process:
Step 1: Design Schematic
First, open your PCB design software of choice and create a new project. Start by designing a schematic of your home theater system, considering the required components and their connectivity.
Step 2: PCB Layout Design
Transfer the schematic into the PCB layout editor. Here you will arrange the components and create a physical representation of the connections. Make sure the placement and spacing between components is correct to avoid any interference or overheating issues.
Step 3: Circuit Simulation
Use the software’s simulation capabilities to verify circuit functionality. This step helps identify any design flaws or inaccuracies before the PCB is manufactured.
Step 4: Generate Gerber files
Once you are satisfied with the design, generate the necessary Gerber files from the software. These files contain the information required for PCB manufacturing.
Step 5: PCB Manufacturing
Submit Gerber files to reliable PCB manufacturing services. Choose the specifications that fit your PCB, such as number of layers, board thickness, and copper weight.
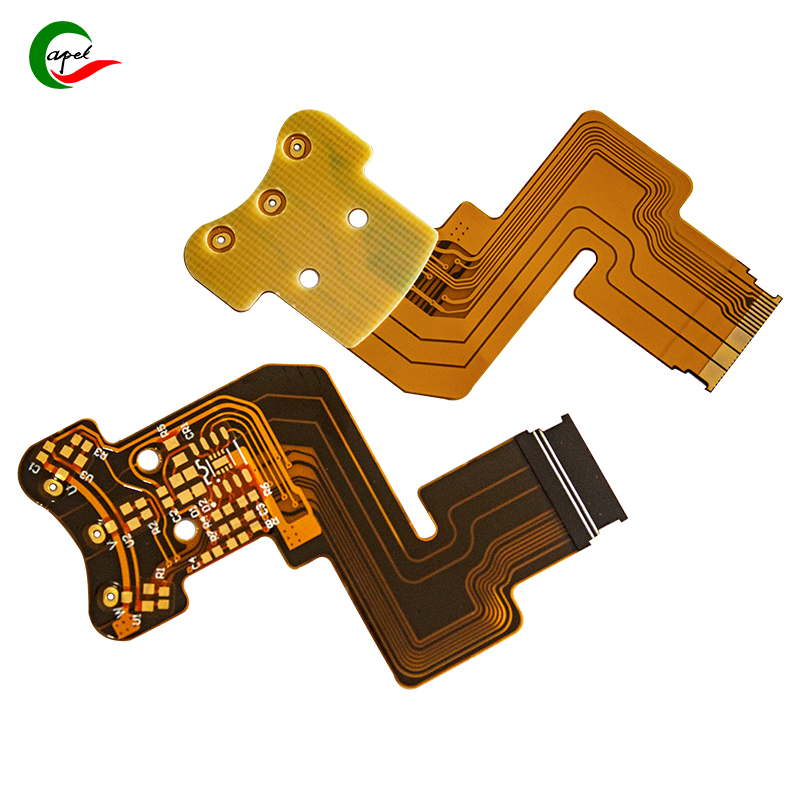
Step 6: Component Procurement and Assembly
While waiting for the PCB to arrive, gather all the components you need for your home theater system. Upon receipt, please follow the component placement guide provided to solder the component to the PCB and make any necessary wiring.
Step 7: Test the prototype
Once assembly is complete, the PCB prototype is ready for testing. Connect it to your home theater system and make sure everything works as expected. Note any issues or improvements that need to be addressed.
Conclusion
By following this comprehensive guide, you can successfully prototype a PCB for your home theater system. The process is possible thanks to easy-to-use design software, affordable manufacturing services, and easy-to-use assembly technology. Taking on this DIY project will not only lead to a more personalized home theater experience, but it will also unleash your creativity in circuit design.
Remember to iterate, modify, and improve your PCB design as you gain experience and look toward more advanced home theater system setups. Embrace this exciting PCB prototyping journey and unlock a whole new level of audio-visual enjoyment from your home theater system.
Post time: Oct-28-2023
Back


