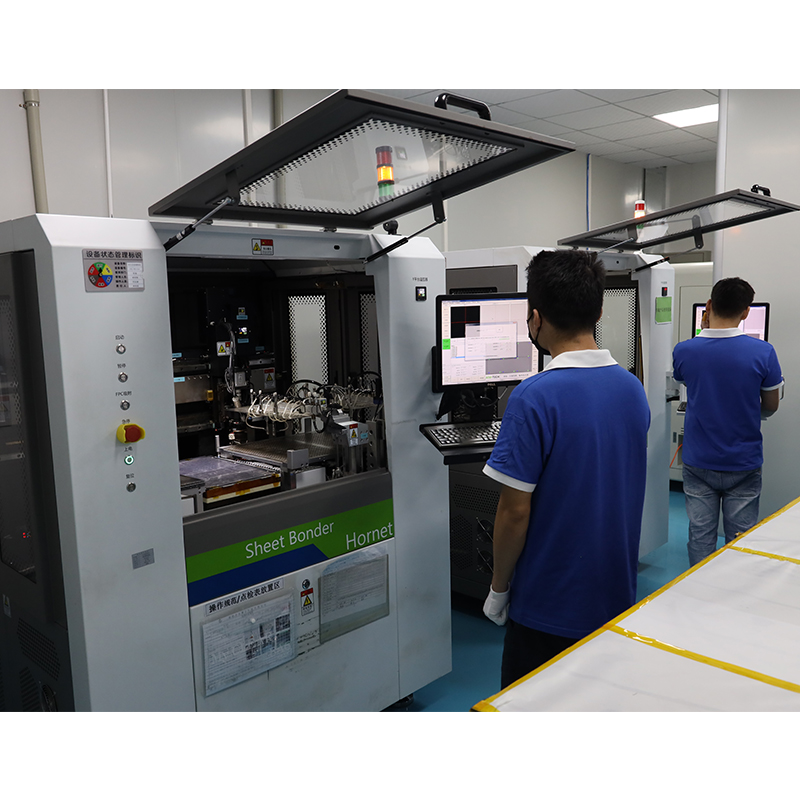
In this article, we’ll explore different ways to optimize PCB prototyping and get the most out of your electronics project.
Designing a printed circuit board (PCB) is a critical step in any electronics project. Whether you are an experienced engineer or a hobbyist, optimizing your PCB prototyping design is critical to the overall success of your project. By following a few key strategies, you can ensure that your PCB design is efficient, cost-effective, and meets your specific requirements.
1. Understand the purpose and requirements of PCB design
Before entering the design process, it is crucial to have a clear understanding of the PCB’s purpose and requirements. What functionality do you want to achieve? What specific features and components do your designs need to have? By defining your goals and requirements up front, you can optimize your PCB prototyping by making informed decisions during the design process.
2. Choose the right PCB design software
Having the right software is crucial for efficient PCB prototyping. There are a variety of software options available in the market, each with its own set of features and functions. Some popular choices for PCB design software include Altium Designer, Eagle, and KiCad. Make sure the software you choose offers a user-friendly interface, powerful design tools, and compatibility with the manufacturing process.
3. Layout optimization for signal integrity
Signal integrity is critical to the proper functioning of your PCB design. To optimize signal integrity, it is important to pay attention to PCB layout. Place critical components close to each other to reduce the length of trace connections and minimize the chance of interference. Effectively use ground and power planes to improve signal integrity and reduce noise. By ensuring a well-optimized layout, you can improve the performance of your PCB design.
4. Minimize noise and crosstalk
Noise and crosstalk in PCB designs can cause signal attenuation and affect overall performance. To minimize these problems, separate analog and digital signals on different PCB layers. Use proper grounding techniques to prevent noise coupling between different signal paths. Implement shielding and maintain appropriate spacing between sensitive traces to reduce crosstalk. By minimizing noise and crosstalk, you can achieve clearer, more reliable signals in your PCB design.
5. Component selection and placement
Careful component selection and placement is critical to optimal PCB prototyping. Select components with the required specifications and ensure they are ready for production. Consider factors such as component size, power requirements, and thermal management during component placement. By strategically selecting and placing components, you can minimize signal interference, thermal issues and production challenges.
6. Optimize power distribution network
Efficient power distribution is critical to the proper operation of your PCB design. Design an optimized power distribution network to reduce voltage drops, minimize power losses, and ensure stable power supply to different components. Properly size power traces and vias to handle the required current without generating excessive heat. By optimizing the power distribution network, you can improve the reliability and performance of your PCB design.
7. Design for manufacturability and assembly
When designing a PCB prototype, the manufacturing and assembly processes must be considered. Design for Manufacturability (DFM) guidelines help ensure that your design can be easily manufactured, assembled, and tested. Follow industry standard DFM practices such as maintaining proper clearances, tolerances and component footprints. With design for manufacturability, you can reduce production errors, reduce costs, and speed up the prototyping process.
8. Conduct thorough testing and analysis
Once your PCB design is ready, perform thorough testing and analysis to verify its performance and functionality. Use tools such as simulation software to analyze how the design behaves under different conditions. Perform signal integrity analysis, thermal analysis, and electrical testing to identify potential issues and make necessary improvements. By extensively testing and analyzing your PCB design, you can identify and correct any design flaws to optimize its performance.
In summary
Optimizing PCB prototyping is critical to achieving maximum efficiency and ensuring the success of your electronics project. You can create a fully optimized PCB design by understanding the usage and requirements, selecting the right software, optimizing layout and layout, minimizing noise and crosstalk, optimizing power distribution, and designing for manufacturability. Remember to perform thorough testing and analysis to verify the performance of your design and make necessary improvements. By following these strategies, you can optimize your PCB prototyping and bring your electronics projects to life with confidence.
Post time: Oct-16-2023
Back


